
Growing a Spider Plant in a hanging basket has become a worldwide trend and it is not too late for you to join in.
Native to tropical and Southern Africa, this plant has become a favourite because of its ability to survive when grown in different conditions.
It’s a durable plant that can survive with neglect and poor conditioning. Hence, if you want to grow a Spider Plant to add beauty to your home BUT are a newbie to plants- this beauty can work out perfect!
Let’s dive in.
Page Contents
Plant description
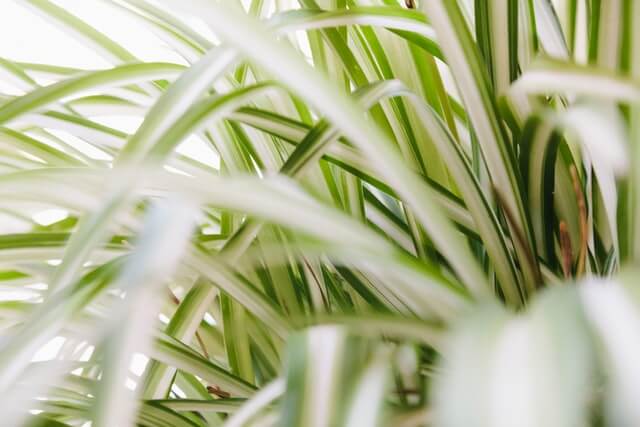
Chlorophytum comosum is the plant’s botanist name. It is widely known as a Spider Plant due to its sub plants or spiderettes looking like a spider web.
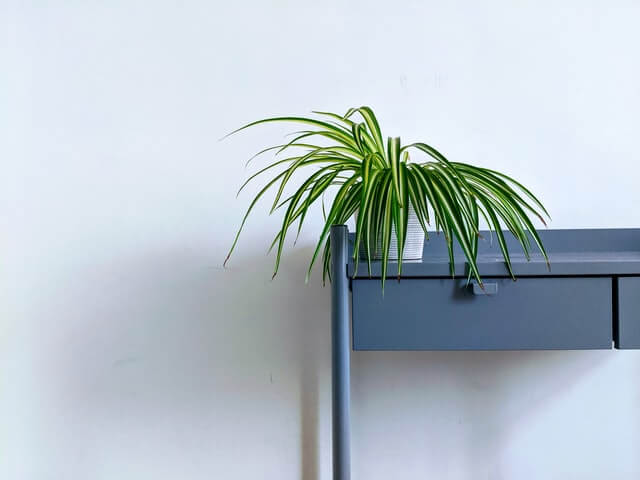
Overall, it is a beautiful evergreen plant with long narrow leaves which drape downwards. Hence, this makes a hanging basket a perfect fit for the Spider Plant. The long foliages can either appear as a solid green or variegated with white.
As a house plant, it can grow anything around 6-12 inches tall.
Why choose a hanging basket?
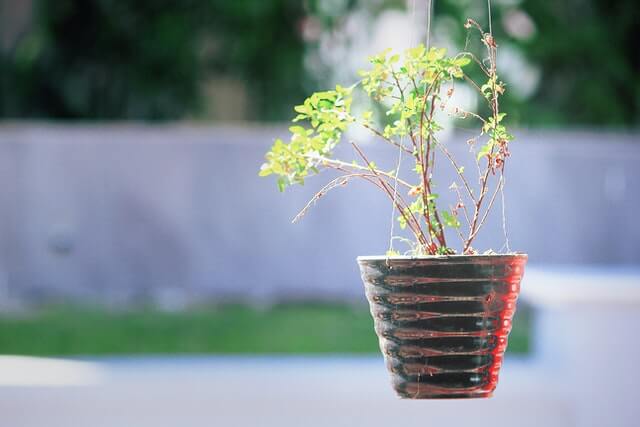
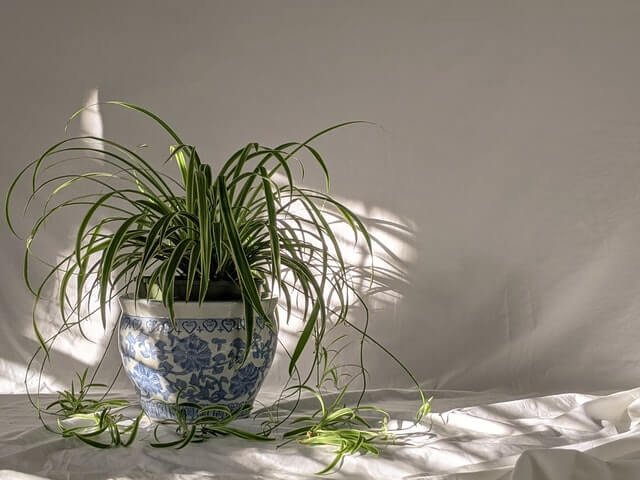
You can choose to grow this plant in a pot but a spider plant grown in a hanging basket is preferred. When grown in a hanging basket, the foliages can drape down.
They look better this way because it allows the baby spiderettes to flourish. It gives the whole plant a fuller look.
But to allow this bushy effect, you need to give the plant time. Also, when it becomes bushy and full- it will need space to flourish. Growing from a hanging basket will be perfect to allow this.
How to set up a hanging basket
Setting up a hanging basket is not as common nor as easy when compared to a plant grown in a pot.
If you haven’t grown a plant in a hanging basket before, do not worry.
Below are the steps on how to set up a hanging basket for a Spider Plant:
STEP 1- Find a ceiling joint or a wall stud
This is important. It will keep your plant secure and will eliminate the risk of your hanging plant falling or becoming unstable.
You can use a wall stud finder if you are not sure how to locate it. Check out this link here to help you learn how to locate a wall stud.
STEP 2- Choose a strong basket
Choose a strong hanging basket and use a metal chain to hang the plant.
There is a recent trend to use a rope to hang your basket, but I would recommend you stick with a metal chain.
The spider plant will get heavy and bushy and a strong basket, with a strong metal chain on a wall stud, is perfect for stability and to minimise any risk of a hanging basket collapsing on your head!
STEP 3- Fill your basket with a liner
To prevent soil or water from spilling over, cover your basket with a liner.
You may need to overlap two rectangular liners to make sure there are no gaps.
STEP 4- Add soil
Add a soil mix to the bottom third of the basket. Press against the bottom and the edges of the basket to fill the base.
Carefully, place the plant in the basket.
Good Tip!
Tuck the plant into the soil using a side-to-side movement. This will prevent the roots from getting damaged.
Step 5- Add more soil
Keep adding soil to fill the rest of the basket. Do this in small stages and press the soil gently every time you add a bit of soil.
Step 6- Water
Water the soil and let it drain before hanging up your basket.
How to care for a Spider Plant
The Spider Plant is a very easy plant to take care of. But don’t let that make you neglect the plant because there are factors you will have to take care of.
To get a healthy, flourishing plant be mindful of:
Light
Spider Plants grow well in moderate to bright light. So if you want vibrant green foliages, try your best to give good lighting to the plant.
Avoid direct light. This will scorch the leaves and will take away the prettiness.
We can grow the plant in low light, but the leaves will not flourish. Hence, avoid this too.
If the leaves turn white/ yellowish- it can be because there is too much exposure to light. Close the curtains/ blinds or move the plant to an area with lower light.
Water
In spring and summer, keep the plant moist.
Try to only water the plant when the top third of the soil becomes dry.
Use the dry and soak method if you are not sure if the plants need watering.
In winter, the plant goes through a dormant period. Thus, water less during this season.
Good Tip!
Take the plant off the hook before watering. Let the water drain and then re-hang.
Soil
Do not let the soil stay wet as this can cause root rot. Let excess water drain out when you have watered before hanging your basket.
I would say water the plant when the top half of the soil becomes dry.
You can improve drainage using compost – which will also help stabilise the soil and make it nutrient-rich.
Temperature
Spider Plants like to be kept slightly cool. Thus, a temperature of 13-18 degrees Celsius is perfect.
Humidity
The plant can survive in low humidity, but they will thrive with more humidity.
Additional tips
Similarly to Devil’s Ivy, this is a hardy plant that does not require much attention. Caring for the plant is simple. But if you are a beginner to either planting or this is your first time planting the ‘Spider’, below are additional tips that can be very helpful:
Don’t use tap water

Tap water has a high fluoride content and Spider Plants are sensitive to fluoride.
Hence, avoid tap water.
A better option is to use distilled water or rainwater.
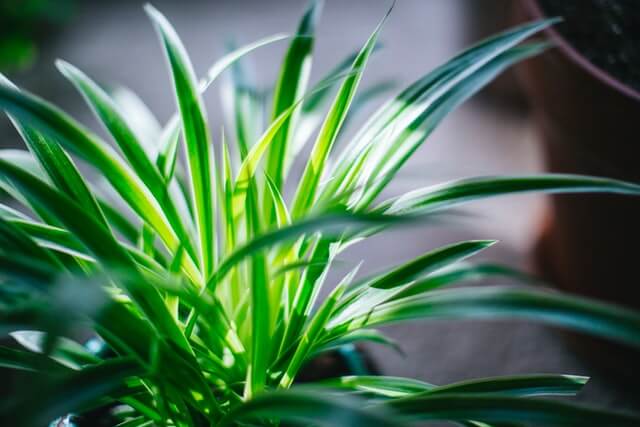
How to make stripes on leaves more prominent
The plant has distinct striped patterns on its leaves giving the plant a very unique look.
But those stripes will not appear if you give the plant too much light. A lot of growers just assume the more light, the better.
They are wrong.
Stick to medium to bright light but avoid direct. Fingers crossed, those distinct patterns will appear.
Spiderettes out of control
Mature Spider Plants will give birth to babies called spiderettes. However, when left for a while they can grow wild and crazy.
This can make the plant look untidy and out of sorts. To resolve this, a good option is to trim the plant to give it a tidy look. If you aim to give a bushy appearance, then cut off parts that stick out.
Another good way to prune the plant is via propagation.
You can use this method to not only prune the plant but also produce a new plant.
Why not check out my blog post on how to propagate a Monstera: A How to Guide: Propagating a Monstera
Do not worry about plant growth during winter.
If you are a stress head, then this tip is for you: During winter, your plant will go through a dormant period. Hence, your plant will not grow.
Do not worry. This is normal.
Minimise watering and feeding of the plant during this period. Once spring starts, the plant will show new flower buds. This will be a good time to restart watering and fertilising again.
Spider plant spiderettes
I mentioned above that they produce spiderettes as offshoots from the main plant.
A lot of plants do not produce offshoots like this and I find this very cool with the spider plant.
You can prune the spiderettes to control their growth and prevent the plant from looking like it’s had a bad hair day!
You can propagate the spiderettes from cutting a stem (with a node) from the mother to give a new plant. This is a great way to grow a new plant while also keeping the mother plant neat and tidy.
Common problems
The Spider Plant is prone to a few common issues that may arise when you grow this plant. Be mindful of:
Water stress
One of the main reasons plant growth goes wrong is due to overwatering or watering less.
Over-watering can cause the leaves to turn brown or yellow and wilt. The leaves look sunken and they eventually dry out.
Limp and droopy leaves can appear when the plant is under watered. This can happen if not watered often, or if the plant is left out in the sun for long periods.
Thus, keep the soil moist and do not let the plant dry out. Give the plant around 4-6 hours of bright, indirect light.
Brown leaves
Browning of leaf tips is a common problem but is fairly easy to troubleshoot.
The solution for this is to let the excess water drain out. Flouride normally causes the tips to go brown. Hence, it may be better to use distilled water or rainwater.
Also, brown leaves could emerge due to dry air. A simple solution is to mist the leaves to increase humidity.
Direct sun is another cause of leaves turning brown. Aim for medium to bright indirect sunlight.
Black leaves
This could be a bit more worrying. This normally happens when the plant is over-watered and the roots have rotted.
Cut off the leaves that are damaged and let the soil dry out. You can repot the plant in a new basket with fresh soil.
Before repotting, cut off the roots that are damaged, to prevent further spread.
Final words
Spider Plant is a well-known house plant and a favourite amongst many plant growers.
Its beautiful long foliages coupled with its simplicity make this an easy plant to take care of.
And a MUST have houseplant if you are a beginner.
Its long grass-like blades and spiderettes make a hanging basket ideal for this type of plant. However, over time, remember to prune your plant to keep it tidy.
You can’t go wrong with this even if you tried. Just follow the care steps above and you will have a bushy beauty!
Good luck!